
First, I need to acknowledge that there’s numerous methods to get presence detection with Home Assistant, each with their own pros and cons. When evaluating the various detection methods, I focused on three key aspects:
- The detection needs to be reliable and consistent. When I’m home, I’m home. I did not want incorrect arrivals/departures if my phone disconnects from Wifi or Bluetooth or if I walk out in the backyard.
- The detection needs to be nearly instantaneous. I use the detection to unlock my front door and I wanted the door unlocked as I’m walking up. This requires detection within seconds, not minutes. I did not want to wait for my phone to connect to my Wifi or Bluetooth network.
- The detection must not significantly impact battery life. I did not want an always on GPS app running in the background that would be necessary for the detection.
I’ve been inspired by multiple ideas and projects from members of the HA community which I’ve combined into this tutorial here. Hopefully this helps or inspires someone else for their own presence detection.
Implementation
My implementation of presence detection uses [monitor] by Andrew J Freyer. [monitor] is “reliable, multi-user, distributed Bluetooth occupancy/presence detection”. If you haven’t heard of the project, you should definitely read the great write-up on the motivation and background of the project. However, for our purpose, we are going to use [monitor] to rapidly detect our presence by detecting our phones Bluetooth:
- When arriving within the proximity of my home, a HomeKit automation is triggered to turn on a linked input_boolean from Home Assistant.
- This input boolean triggers an automation to instruct [monitor] to begin actively scanning for our phone’s Bluetooth advertisements.
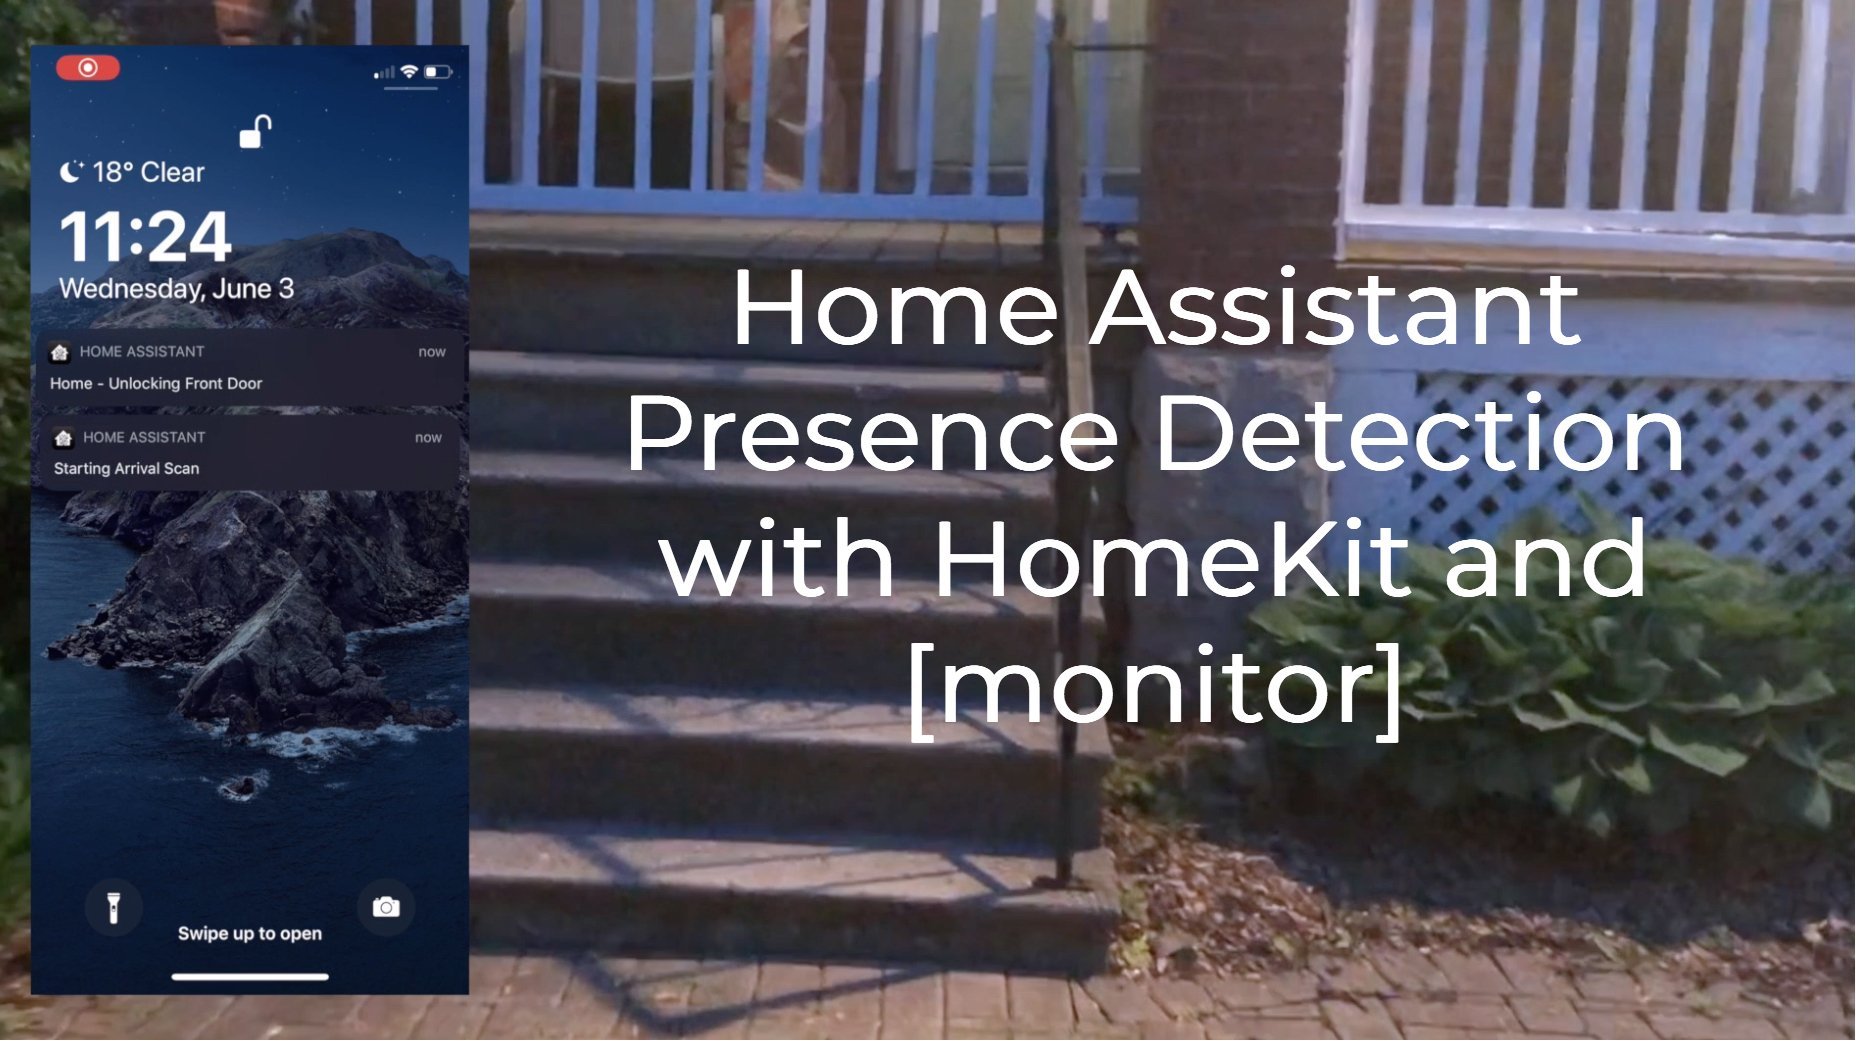
- When my phone is detected by [monitor], a MQTT message is sent to Home Assistant to unlock my front door.
Required Items
- iPhone — As this uses HomeKit, an iOS device with cellular is required.
- AppleTV, an at home iPad or HomePod — To act as a home hub (base station) for remote HomeKit control and automations.
- A Raspberry Pi (Recommended model, Zero W) — To run the [monitor] Bluetooth based presence detection.
Step-by-Step Guide
1) Input_boolean Setup
We first need to create input_booleans which will represent the person(s) that we want to provide presence detection for. In my home, that will include two people. In configuration.yaml, under input_boolean: create your input boolean(s). For example:
input_boolean:
  steven_presence:
    name: Steven Presence
    icon: mdi:account
  cadence_presence:
    name: Cadence Presence
    icon: mdi:account
Next, create an input_boolean that will be enabled/disabled based on our presence. This will be explained further when setting up our automations, but in general it will prevent our front door being unlocked if we have not recently arrived:
arrivalscan:
  name: ArrivalScan
  initial: off
Save, and restart you HA server.
2) HomeKit Setup
Now, we need set up our HomeKit Bridge integration*. This integrations allows us to forward entities from Home Assistant to HomeKit. If you’ve already setup a HomeKit Bridge, then you will need to add the newly created input booleans. If you have not set up a HomeKit Bridge, then in your configuration.yaml add:
homekit:
  filter:
    include_entities:
      - input_boolean.steven_presence
      - input_boolean.cadence_presence
By using include_entities:, we are only passing the input_booleans we created. If we did not use include_entities, by default, no entities will be excluded, which could expose a lot of entities to HomeKit (which may not be desired).
*Note: At the time of writing this, the HomeKit Bridge integration can still be configured through Yaml in our configuration.yaml file. The instructions shown use this method, however, it should be noted that this may change when HomeKit Bridge will require setup through, ‘Configuration >> Integrations’ in the UI.
Afterwards, we need to add the HomeKit Bridge to our iOS HomeKit. I’ll refer to the setup guide here for instructions. If successful, you should see your input_booleans appear in HomeKit as switches. We then need to create automations for these switches to respond to us arriving and leaving home:


Create a HomeKit automation for each member you want to enable presence detection for, and link it to their respective switch. It is important that you create individual automations for each member to properly track their presence.
At this point, you could stop here as you should have very reliable presence detection with minimal battery usage since this automation is integral to the iOS system and not reliant on a 3rd party application. However, there is a major issue for this detection if you are using it to unlock your front door, for example. The minimum range for the Home location, is large, at at minimum of 100 meters. This means that you may be around the corner, not in sight of your house and it would still detect you home, and unlock your door! Not ideal. This is where [monitor] comes in.
3) [monitor] Setup
We now need to setup [monitor] on our Raspberry Pi. Its recommended to use the Pi for this script only, as it needs exclusive use of the Bluetooth radio. Andrew provides excellent installation instructions which you can find in the Github here.
Once you get to step 3 of the ‘Setup monitor‘ installation instructions, return here to go through the remaining configuration steps.
a) Edit the mqtt_preferences file
If you aren’t already in the ‘monitor’ directory, type the command: cd monitor/
We now need to connect [monitor] to our Home Assistant server. If you are using an add-on such as ‘Mosquitto broker’, the required login information can be found in the configuration section:

In the ssh terminal, open the mqtt_preferences file by typing the command: sudo nano mqtt_preferences
Here, we will need to update the: 1) mqtt_address and 2) username/password that we have in the MQTT broker. If you are running the Mosquitto broker in Home Assistant, then the mqtt_address will be the IP address of your Home Assistant server. We can also set the mqtt_publisher_identity which will set how the MQTT messages are sent and will be identified in our automations. My mqtt_preferences file looks similar to this:

When editing with nano, to save and exit: Ctrl + O to save the changes, and Ctrl + X to exit
b) Edit the known_static_addresses file
Open the known_static_addresses file by typing the command: sudo nano known_static_addresses
This file lets us define known devices that will be used in our presence detection. For me, this is my iPhone. However, [monitor] has been known to work other devices, not just smart phones. For example, Tile trackers, smart watches, cars, etc. should also work. To define a known device, we need to get the Bluetooth MAC addresses, and add it along with an alias in the known_static_addresses file:

c) Editing the behavior_preferences file
Open the behavior_preferences file by typing the command: sudo nano behavior_preferences
This file will let us fine tune [monitor] for our specific application. I’d recommend reading through the guide which goes over each option. However, for our case, we need to edit/add two lines (highlighted in the image below):
PREF_MINIMUM_TIME_BETWEEN_SCANS=5
and
PREF_INTERSCAN_DELAY=2

By lowering the minimum time between scans, we can increase the speed at detecting arrivals, and by lowering the interscan delay we can increase responsiveness.
In a typical [monitor] implementation, adjusting these preferences can increase the potential for interference. However, in my testing, since we are rarely scanning for arrivals, I have not found it to be an issue.
Additionally, lowering the interscan delay may cause a Bluetooth hardware fault. On the RPI Zero W, I have not found an issue with setting this value to 2, however, you may need to leave this at the default value of 3 if you are noticing issues.
d) Update ‘monitor.service‘ command line settings
By default, [monitor] will always be ‘scanning’ for devices. However, in our implementation, we want to change that to limit the scans only when we request them (leaving/arriving) home. Run the command:
sudo bash monitor.sh -tad -u
The argument -tad will cause [monitor] to only scan for arrivals and departures when we send an MQTT trigger message. The argument -u updates [monitor] to save and use the current settings
Now would be a good time to check to make sure [monitor] is successfully detecting our devices. Run the command:
sudo bash monitor.sh -V
And watch the output. You should see an arrival scan started, and then if your device is located close enough to your RPi, the device should be detected by [monitor]:
[+] 04-06-2020 04:57:30 pm [CMD-INFO]	**started arrival scan [x1 max rep] **
[+] 04-06-2020 04:57:31 pm [CMD-SCAN]	(No. 1) AA:11:BB:22:CC:33 arrival?
[+] 04-06-2020 04:57:42 pm [CMD-MQTT]	monitor/frontdoor/steven_iphone
 {
    "id":"AA:11:BB:22:CC:33",
    "confidence":"100",
    "name":"steven_iphone",
    "manufacturer":"Apple Inc",
    "type":"KNOWN_MAC",
    "retained":"false",
    "timestamp":"Thu Jun 04 2020 16:57:33 GMT+0100 (BST)",
    "version":"0.2.200"
 }
If you don’t, check out some of the troubleshooting steps on the [monitor] Git. For Apple devices, they must be paired with a Bluetooth device (Apple Watch does not count), before they will start broadcasting their Bluetooth. I had to pair my iPhone with a Bluetooth speaker after a restore to enable the Bluetooth detection.
Once [monitor] is correctly detecting your devices, move your Rasberry Pi to a location that is close to your Front Door to provide the greatest potential of detecting your device.
4) Node-RED Automation Setup
First, we need to install the module, ‘looptimer2‘, that will be used in our automation:


Node-RED MQTT Setup
Next, we need to set up the mqtt-broker nodes  in Node-RED. If you have not used the MQTT broker node in Node-RED before, we will need to configure the MQTT server, using the same information as previously set during the [monitor] setup:


There are three main components to this automation. I will go through and explain how each automation functions. The full Node-RED flow can be found below. If you would prefer to add individual flows as described in each tab, I have also included the code for those flows as well under their respective tabs.
Code for full Node-RED flow
[{"id":"3e58c836.ea67f","type":"server-state-changed","z":"c537150a.629ee","name":"S Home","version":1,"exposeToHomeAssistant":false,"haConfig":[{"property":"name","value":""},{"property":"icon","value":""}],"entityidfilter":"input_boolean.steven_presence","entityidfiltertype":"exact","outputinitially":false,"state_type":"str","haltifstate":"on","halt_if_type":"str","halt_if_compare":"is","outputs":2,"output_only_on_state_change":true,"x":180,"y":180,"wires":[["55e64a.4f5bc9b8"],[]]},{"id":"91d29a56.8714f","type":"api-call-service","z":"c537150a.629ee","name":"\"Arrival\" - On","version":1,"debugenabled":false,"service_domain":"input_boolean","service":"turn_on","entityId":"input_boolean.arrivalscan","data":"","dataType":"json","mergecontext":"","output_location":"","output_location_type":"none","mustacheAltTags":false,"x":410,"y":200,"wires":[["29ef575e.d98428","f68ef0c8.814fa"]]},{"id":"18594349.2f1ad5","type":"server-state-changed","z":"c537150a.629ee","name":"C Home","version":1,"exposeToHomeAssistant":false,"haConfig":[{"property":"name","value":""},{"property":"icon","value":""}],"entityidfilter":"input_boolean.cadence_presence","entityidfiltertype":"exact","outputinitially":false,"state_type":"str","haltifstate":"on","halt_if_type":"str","halt_if_compare":"is","outputs":2,"output_only_on_state_change":true,"x":180,"y":240,"wires":[["55e64a.4f5bc9b8"],[]]},{"id":"29ef575e.d98428","type":"looptimer2","z":"c537150a.629ee","duration":"15","units":"Second","maxloops":"60","maxtimeout":"10","maxtimeoutunits":"Minute","name":"15s Loop","x":700,"y":220,"wires":[["91a507e1.9ed978"],["827ac840.e3049"]]},{"id":"f68ef0c8.814fa","type":"ha-wait-until","z":"c537150a.629ee","name":"Timeout","outputs":2,"entityId":"input_boolean.arrivalscan","entityIdFilterType":"exact","property":"state","comparator":"is","value":"off","valueType":"str","timeout":"10","timeoutType":"num","timeoutUnits":"minutes","entityLocation":"","entityLocationType":"none","checkCurrentState":true,"blockInputOverrides":true,"x":700,"y":160,"wires":[[],["de4ad547.617498"]]},{"id":"eeaa31be.0829a","type":"change","z":"c537150a.629ee","name":"Stop","rules":[{"t":"set","p":"payload","pt":"msg","to":"stop","tot":"str"},{"t":"delete","p":"data","pt":"msg"},{"t":"delete","p":"topic","pt":"msg"}],"action":"","property":"","from":"","to":"","reg":false,"x":495,"y":260,"wires":[["29ef575e.d98428"]],"l":false},{"id":"91a507e1.9ed978","type":"change","z":"c537150a.629ee","name":"Clear Payload","rules":[{"t":"set","p":"payload","pt":"msg","to":"","tot":"str"}],"action":"","property":"","from":"","to":"","reg":false,"x":815,"y":220,"wires":[["bda24a48.1c9cf8"]],"l":false},{"id":"827ac840.e3049","type":"api-call-service","z":"c537150a.629ee","name":"\"Arrival\" - Off","version":1,"debugenabled":false,"service_domain":"input_boolean","service":"turn_off","entityId":"input_boolean.arrivalscan","data":"","dataType":"json","mergecontext":"","output_location":"","output_location_type":"none","mustacheAltTags":false,"x":870,"y":280,"wires":[[]]},{"id":"de4ad547.617498","type":"api-call-service","z":"c537150a.629ee","name":"\"Arrival\" - Off","version":1,"debugenabled":false,"service_domain":"input_boolean","service":"turn_off","entityId":"input_boolean.arrivalscan","data":"","dataType":"json","mergecontext":"","output_location":"","output_location_type":"none","mustacheAltTags":false,"x":850,"y":160,"wires":[[]]},{"id":"7b0b6ef8.103e3","type":"server-state-changed","z":"c537150a.629ee","name":"Arrival Off","version":1,"exposeToHomeAssistant":false,"haConfig":[{"property":"name","value":""},{"property":"icon","value":""}],"entityidfilter":"input_boolean.arrivalscan","entityidfiltertype":"exact","outputinitially":false,"state_type":"str","haltifstate":"off","halt_if_type":"str","halt_if_compare":"is","outputs":2,"output_only_on_state_change":false,"x":400,"y":260,"wires":[["eeaa31be.0829a"],[]]},{"id":"55e64a.4f5bc9b8","type":"delay","z":"c537150a.629ee","name":"","pauseType":"rate","timeout":"5","timeoutUnits":"seconds","rate":"1","nbRateUnits":"10","rateUnits":"second","randomFirst":"1","randomLast":"5","randomUnits":"seconds","drop":true,"x":295,"y":200,"wires":[["91d29a56.8714f"]],"l":false},{"id":"6bfea6b.ed118d8","type":"comment","z":"c537150a.629ee","name":"Arrival Scanning","info":"","x":200,"y":120,"wires":[]},{"id":"f09245e8.eed5c","type":"mqtt in","z":"c537150a.629ee","name":"","topic":"monitor/frontdoor/steven_iphone","qos":"2","datatype":"json","broker":"","x":135,"y":440,"wires":[["105cef90.f54a9"]],"l":false},{"id":"105cef90.f54a9","type":"function","z":"c537150a.629ee","name":"Sort","func":"device_alias = msg.payload.name || 0;\nconfidence = msg.payload.confidence || 0;\n\nif (device_alias == \"steven_iphone\") {\n if (confidence >= 100){\n return[{payload: parseInt(msg.payload.confidence) || 0},null,null,null]\n }\n if (confidence < 26){\n return[null,{payload: parseInt(msg.payload.confidence) || 0},null,null]\n }\n}\n\nif (device_alias == \"cadence_iphone\") {\n if (confidence >= 100){\n return[null,null,{payload: parseInt(msg.payload.confidence) || 0},null]\n }\n if (confidence < 26){\n return[null,null,null,{payload: parseInt(msg.payload.confidence) || 0}]\n }\n}\n\n\n\nreturn [null,null,null,null]","outputs":4,"noerr":0,"x":270,"y":480,"wires":[["48298708.90999"],[],["48298708.90999"],[]],"info":"1 - Steven Arrival 100%\n2 - Steven Departure 0%\n3 - Cadence Arrival 100%\n4 - Cadence Departure 0%"},{"id":"48298708.90999","type":"api-current-state","z":"c537150a.629ee","name":"\"Arrival\" On?","version":1,"outputs":2,"halt_if":"on","halt_if_type":"str","halt_if_compare":"is","override_topic":false,"entity_id":"input_boolean.arrivalscan","state_type":"str","state_location":"payload","override_payload":"msg","entity_location":"data","override_data":"msg","blockInputOverrides":false,"x":410,"y":480,"wires":[["fc741eb4.d71838","33d88a08.13ab9e"],[]]},{"id":"fc741eb4.d71838","type":"delay","z":"c537150a.629ee","name":"1 msg/min","pauseType":"rate","timeout":"5","timeoutUnits":"seconds","rate":"1","nbRateUnits":"1","rateUnits":"minute","randomFirst":"1","randomLast":"5","randomUnits":"seconds","drop":true,"x":535,"y":480,"wires":[["51a8e059.2b5988","9c4eaed3.fde288"]],"l":false},{"id":"33d88a08.13ab9e","type":"api-call-service","z":"c537150a.629ee","name":"Arrival Off","version":1,"debugenabled":false,"service_domain":"input_boolean","service":"turn_off","entityId":"input_boolean.arrivalscan","data":"","dataType":"json","mergecontext":"","output_location":"","output_location_type":"none","mustacheAltTags":false,"x":580,"y":440,"wires":[[]]},{"id":"51a8e059.2b5988","type":"api-call-service","z":"c537150a.629ee","name":"UNLOCK- ZWave","version":1,"debugenabled":false,"service_domain":"lock","service":"unlock","entityId":"lock","data":"","dataType":"json","mergecontext":"","output_location":"","output_location_type":"none","mustacheAltTags":false,"x":670,"y":480,"wires":[[]]},{"id":"162387ae.ddb288","type":"comment","z":"c537150a.629ee","name":"Arrival Detected","info":"","x":200,"y":380,"wires":[]},{"id":"e95965d7.b3e3b","type":"mqtt in","z":"c537150a.629ee","name":"","topic":"monitor/frontdoor/cadence_iphone","qos":"2","datatype":"json","broker":"","x":135,"y":500,"wires":[["105cef90.f54a9"]],"l":false},{"id":"9c4eaed3.fde288","type":"api-call-service","z":"c537150a.629ee","name":"Notification - Home","version":1,"debugenabled":false,"service_domain":"notify","service":"mobile_app_stevens_iphone","entityId":"","data":"{\"message\":\"Home - Unlocking Front Door\"}","dataType":"json","mergecontext":"","output_location":"","output_location_type":"none","mustacheAltTags":false,"x":670,"y":520,"wires":[[]]},{"id":"bba6b934.1aec8","type":"change","z":"c537150a.629ee","name":"Clear","rules":[{"t":"set","p":"payload","pt":"msg","to":"","tot":"str"}],"action":"","property":"","from":"","to":"","reg":false,"x":475,"y":680,"wires":[["14463c54.ffd774"]],"l":false},{"id":"b558ad0c.10034","type":"delay","z":"c537150a.629ee","name":"","pauseType":"rate","timeout":"5","timeoutUnits":"seconds","rate":"1","nbRateUnits":"30","rateUnits":"second","randomFirst":"1","randomLast":"5","randomUnits":"seconds","drop":true,"x":415,"y":680,"wires":[["bba6b934.1aec8"]],"l":false},{"id":"14463c54.ffd774","type":"mqtt out","z":"c537150a.629ee","name":"","topic":"monitor/scan/restart","qos":"","retain":"","broker":"","x":620,"y":680,"wires":[]},{"id":"f04b400a.1c4d3","type":"server-state-changed","z":"c537150a.629ee","name":"S Away","version":1,"exposeToHomeAssistant":false,"haConfig":[{"property":"name","value":""},{"property":"icon","value":""}],"entityidfilter":"input_boolean.steven_presence","entityidfiltertype":"exact","outputinitially":false,"state_type":"str","haltifstate":"off","halt_if_type":"str","halt_if_compare":"is","outputs":2,"output_only_on_state_change":true,"x":170,"y":660,"wires":[["26fb1a67.77511e"],[]]},{"id":"11e79609.25078a","type":"server-state-changed","z":"c537150a.629ee","name":"C Away","version":1,"exposeToHomeAssistant":false,"haConfig":[{"property":"name","value":""},{"property":"icon","value":""}],"entityidfilter":"input_boolean.cadence_presence","entityidfiltertype":"exact","outputinitially":false,"state_type":"str","haltifstate":"off","halt_if_type":"str","halt_if_compare":"is","outputs":2,"output_only_on_state_change":true,"x":170,"y":720,"wires":[["fdd3aaf.2d004d8"],[]]},{"id":"26fb1a67.77511e","type":"ha-wait-until","z":"c537150a.629ee","name":"","outputs":2,"entityId":"input_boolean.steven_presence","entityIdFilterType":"exact","property":"state","comparator":"is","value":"on","valueType":"str","timeout":"30","timeoutType":"num","timeoutUnits":"seconds","entityLocation":"","entityLocationType":"none","checkCurrentState":true,"blockInputOverrides":true,"x":300,"y":660,"wires":[[],["b558ad0c.10034"]]},{"id":"fdd3aaf.2d004d8","type":"ha-wait-until","z":"c537150a.629ee","name":"","outputs":2,"entityId":"input_boolean.cadence_presence","entityIdFilterType":"exact","property":"state","comparator":"is","value":"on","valueType":"str","timeout":"30","timeoutType":"num","timeoutUnits":"seconds","entityLocation":"","entityLocationType":"none","checkCurrentState":true,"blockInputOverrides":true,"x":300,"y":720,"wires":[[],["b558ad0c.10034"]]},{"id":"156e090e.82739f","type":"comment","z":"c537150a.629ee","name":"Departure Sync","info":"","x":200,"y":600,"wires":[]},{"id":"bda24a48.1c9cf8","type":"mqtt out","z":"c537150a.629ee","name":"","topic":"monitor/scan/ARRIVE","qos":"2","retain":"","broker":"","x":980,"y":220,"wires":[]}]
When myself or another household member arrive within the vicinity of the house, the HomeKit linked input booleans are turned on. This turns on the Arrival input boolean, and triggers the loop timer. The loop timer sends a MQTT message to [monitor] to begin scanning for devices. This message is repeated every 15 seconds until either, 1) A timeout is reached after 10 minutes or 2) The Arrival input boolean is turned off

MQTT listeners are setup to receive messages from [monitor] when our tracked devices are detected. The function node then sorts these messages depending on the detected device and if the device is ‘arriving’ or ‘departing’. If a device is arriving, the flow checks to make sure that the Arrival boolean is on, which if true, will turn off the Arrival boolean (stopping the Loop Timer and subsequently the [monitor] arrival scanning), and then will unlock the front door and send a notification to my iPhone. When configuring this for your own home, edit the function node, changing, device_alias == "steven_iphone" to match the name of your device set in the [monitor] prefences.
The MQTT listeners are set up to listen to individual topics, specific to each device:

For example, in the [monitor] mqtt_preferences I set the mqtt topic to “monitor” and the mqtt publisher identify to front door and in the known_static_addresses I set my device alias to ‘steven_iphone’. In this preference pane, it is also important to set the Output to ‘a parsed JSON object’.

Finally, when anyone leaves in the house, the input boolean linked to HomeKit will switch off. If the boolean remains off for 30 seconds, then a MQTT command is sent to [monitor] to restart the service. This will cause [monitor] to rescan for devices, regardless of their previous status. Since we previously set up the Arrival boolean, a scan here will not unlock our front door if one of us was still home, as the boolean is only turned on by a HomeKit arrival. This departure sync is necessary, as [monitor] will not report a device arriving if it did not first detect the device leaving.
Conclusion
Hopefully this guide can help or inspire you for your own presence detection. Let me know in the comments the ways you are detecting presence in your own home!
Hi,
You write:
I had to pair my iPhone with a Bluetooth speaker after a restore to enable the Bluetooth detection.
Do you mean you have to also place a bluetooth speaker near front door, when your iphone get closed to your front door, it first connects to your bluetooth speaker and then it starts to broadcast every time you get home? If this is the case does monitor fast enough to detect your iphone and cause node red call zwave lock unlock?
Hello, no you do not have to have a Bluetooth device like a speaker next to your door. iOS has a quirk that if the phone has never been paired to a Bluetooth device before, then it won’t broadcast its Bluetooth connection which means [monitor] won’t be able to pick it up. Hence why I had to pair my phone with just any Bluetooth device once (and can even unpaid it after), before the detection would work correctly.
Hey there, have you designed a good flow for automatically locking when leaving? I’d imagine you’d trigger a flow when the HomeKit switch turns off, then scan for departure then lock? What if you’d only want to lock if both people are gone?